The Wraith Kodi addon from Blamo creates a premium interface for movies and TV that offers you plot, cast, genre, trailer, pictures, and more extended information. Paired with Chappa’ai, Wraith gives you the nicest addon in Kodi. Read more details below.
The Wraith Kodi addon is a mod of the extended info Kodi module, which conveniently loads movie and TV metadata from the internet. Many Kodi skins use this information to popular your screen with movie posters, trailers, plot, pictures, background, and more. Blamo has added Chappa’ai functionality into the new Wraith Kodi addon, which is awesome!
Below, you will find full details on the Wraith Kodi addon, including:
- Change log
- How to use the Wraith Addon
- How to install the Wraith addon
- How to fix issues installing the Wraith Kodi addon (Failed to Install Dependency)
- Signing up for TMDB credentials for more information
Wraith Kodi Latest Features / Change Log – v0.0.2
- Edits to dialog info
- Few minor bug fixes
- Re added a few missing imports
- Total new icon scheme (more coming)
Initial changes include:
- Bug fixes & some clean up
- Changed up a few things
- Fixed an error on open
- Added trakt API keys
- Made a few edits to a few XMLs
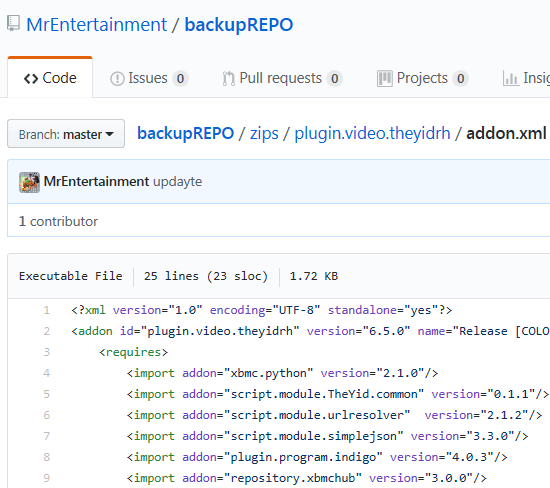
The Wraith Kodi addon can be found in the Blamo Repository. If you do not see the addon inside of the repo, you have to reinstall the repository (start at step 1 of the instructions below).
Support for this addon can be found on Twitter.
Check out the installation guide for the Wraith Kodi addon underneath a special Kodi promotion for our viewers.

How to Install Wraith Kodi Add-on – Standard Method
- From the Kodi main menu, navigate to SYSTEM > File Manager > Add Source > None
- Type the following EXACTLY http://repo.mrblamo.xyz and select Done
- Highlight the box underneath and enter a name for this media Source like blamo and then click OK
- Go back to your home screen.
- ON Kodi 17 Krypton or later: Select Add-ons > Add-on Browser
- ON Kodi 16 or earlier: Select SYSTEM > Add-Ons
- Select Install from Zip File > blamo > repository.blamo-x.x.x.zip and wait for the Add-on enabled notification
- Select Install from Repository > Blamo repository > Video Add-ons > Wraith > Install
- Wait for Add-on enabled notification
How to Use the Wraith Kodi Addon
Not quite sure how this all fits together? Let us explain with pictures!
When you install the Wraith Kodi addon, Chappa’ai will also be installed. Chappa’ai is a middle-man that calls on all of the addons you have installed to play a stream. It allows you to quickly query all of your addons within one interface without having to enter each addon individually.
When Wraith launches, you’ll be presented with a menu of different movie and TV playlists. These playlists are pulled from other websites.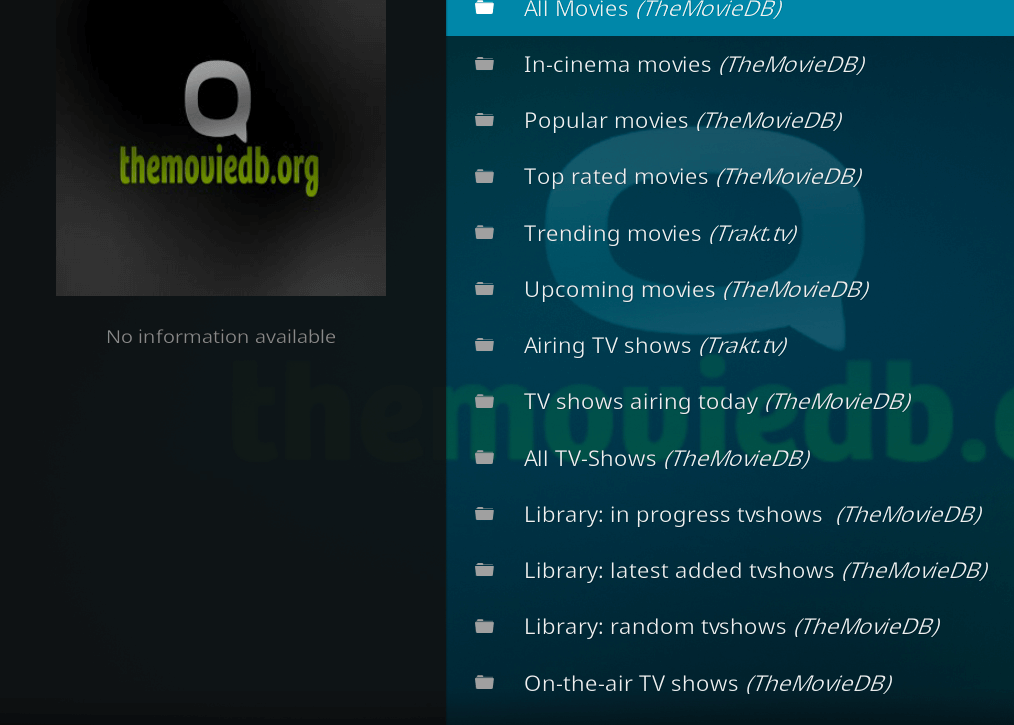
After selecting a playlist, you’ll be presented with the metadata of tons of movies and content.
Clicking on a title will bring up a nice page with metadata on the movie such as rating, release date, budget, plot, poster, and more.
My screenshot below is how the Wraith Kodi plugin looks on the default Estuary Kodi skin. It doesn’t look the greatest, but the functionality is still there. Custom Kodi skins will do a better job of displaying this content. If you have a skin that makes Wraith look really nice, comment below and we will feature it!
The main functionality of Wraith is the row of icons underneath the plot. Note that depending on what device you run Kodi on and what skin you are using, the look of the menu below might look a little different.
On Mac OS in the screenshot below, the icons don’t seem to appear fully and there are three “Play” buttons which can be a little confusing. Using the same skin on Android (Estuary), the row of icons appeared properly.
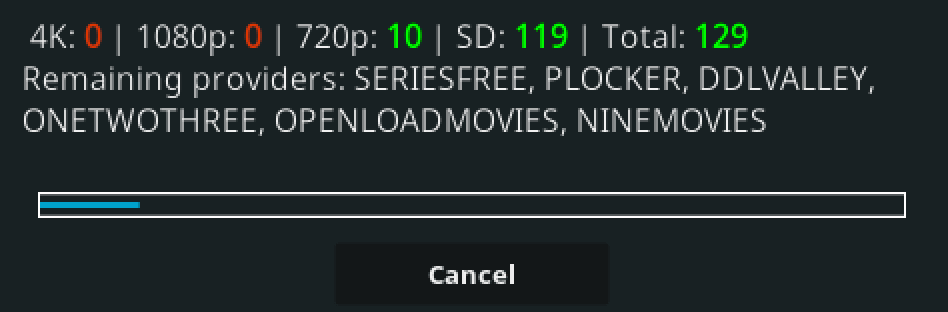
What you want to do is click on the Play Button (it might also be labelled Chappa’ai). This will send a request to Chappa’ai. Chappa’ai, in turn, sends a request to the addons you have installed. These addons send a search query that matches the title.
With the Wraith Kodi addon, you can use this as your interface into streaming within Kodi. it is essentially a sub-skin within your Kodi install!
Check it out today.
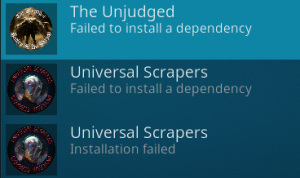
Wraith Kodi Installation Failed – Failed to Install Dependency
If you get an installation failed error when trying to install the Wraith Kodi addon or the “failed to install dependency” error, it means that one of the modules that Wraith needs cannot be installed.
From testing, it appears that this happens most often for Chappa’ai and Super Favourites. To get around this issue, install these addons before you install Wraith.
Click here to install the Chappa’ai addon (link will open in a new tab)
Click here to install the Super Favourites addon (link will open in a new tab)
After these are installed, retry the Wraith Kodi installation above.
Wraith Kodi TMDB Credentials
Upon launching the addon, especially for the first time, you may see the following message:
For all features, enter your TMDB credentials in addon settings.
This product uses the TMDB API but is not endorsed or certified by TMDB.
Signing up for a TMDB (The Movie Database) account will allow you access to even more metadata and a better experience in Wraith. To sign up for a TMDB account and configure it in Wraith:
- Head to The Movie DataBase website by clicking here.
- Click on Sign Up in the upper left corner.
- Fill in your cfedentials and click on Sign Up.
- A verification email will be sent to you. Click on it to verify your account.
- Back inside of Kodi, navigate into the Wraith addon settings by going from your home screen to Addons > Addon Browser > My Addons > Program Addons > Hover on Wraith > Menu (‘c’) > Settings.
- Head down to TheMovieDB tab and enter in your username and password.
- Enable the option to Include Actors/Movies.
Disclaimer
We have no control over and do not host or upload any video, films, media file, or live streams. KodiTips is not responsible for the accuracy, compliance, copyright, legality, decency, or any other aspect of the content of streamed from your device. If you have any legal issues please contact the appropriate media file owners or host sites.
Let us know on Twitter or Facebook what you think!
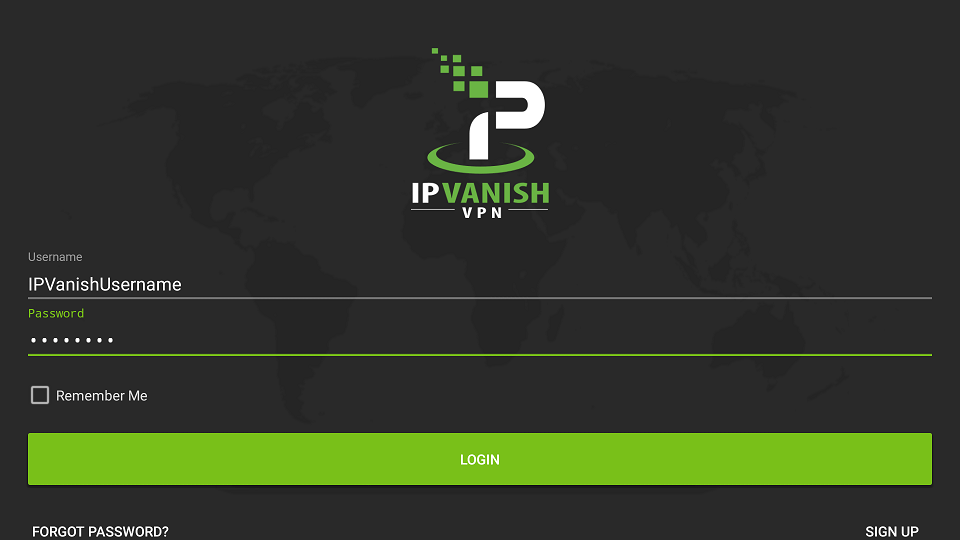
Click here to get 50% off 1 year worth of IPVanish with code IPVSAVE50
Hide yourself on the internet with a reliable VIP VPN service. A VPN can make hide your internet traffic and make you appear as if you are from anywhere in the world. We offer 53% off IPVanish, which has some advantages too:
Native apps for Amazon Fire Stick, Android TV, Android, iOS, Mac, Linux, and more
Unlimited bandwidth
Tier 1 hardware (no speed slowdown)
Log-free, so you can’t be tracked
7 day money back guarantee
The ability to be configured right at your router, for a hassle-free experience.
The post Wraith Kodi Install Guide: Extended Info Fork appeared first on Kodi Tips.